User Notifications in macOS
User Notifications notify the user that something has changed in the application. Best known examples are the upcoming events in Calendar or the build status in Xcode.
Notification Center provides an overview of notifications from applications. As we will see, it’s very easy to integrate and display basic notifications in it.
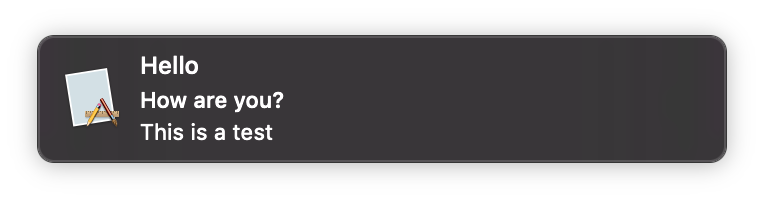
Three display styles are available: None, Banner and Alert. By default, User Notifications are displayed using the Banner style.
Setup
We use two objects:
NSUserNotification: to create and manage the notificationNSUserNotificationCenter: to display the notification
import Cocoa

// Create the notification and setup information

let notification = NSUserNotification()
notification.identifier = UUID().uuidString
notification.title = "Hello"
notification.subtitle = "How are you?"
notification.informativeText = "This is a test"
notification.soundName = NSUserNotificationDefaultSoundName
notification.contentImage = NSImage(contentsOf: URL(string: "https://placehold.it/300")!)

// Delegate of the Notification Center

let notificationCenter = NSUserNotificationCenter.default

// Manually display the notification

notificationCenter.deliver(notification)
However this piece of code does not really display the notification, the Notification Center decides if it should be displayed or not. Usually, the notification it’s not display if the app is already in focus.
To do that, we need to implement NSUserNotificationCenterDelegate protocol. AppDelegate’s applicationDidFinishLaunching method is a good candidate. You can force a notification to be displayed, thanks to userNotificationCenter:shouldPresent.
notificationCenter.delegate = self

[...]

func userNotificationCenter(_ center: NSUserNotificationCenter, shouldPresent notification: NSUserNotification) -> Bool {
	return true
}
Banner
Banners are simple notification view, dismissed after a few seconds.
Alert
On the contrary of banners, alerts aren’t dismissed automatically.
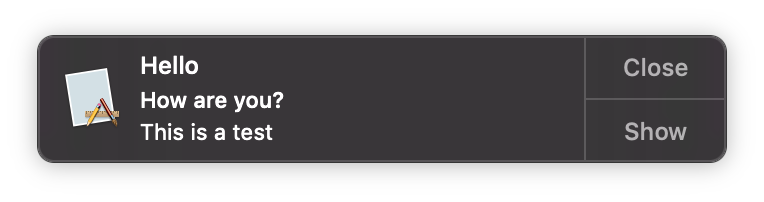
To modify the notification style we need to add a property into Info.plist. Set NSUserNotificationAlertStyle as key with alert string value.

Adding an action
Reply
We can add a reply field with a custom placeholder.
notification.hasReplyButton = true
notification.responsePlaceholder = "Type you reply here"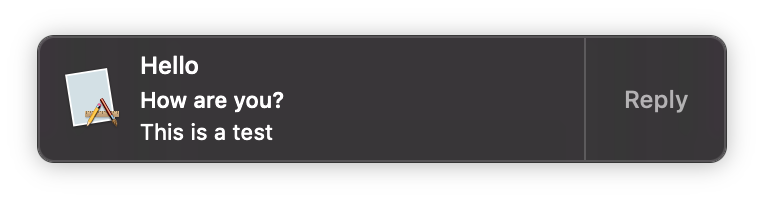
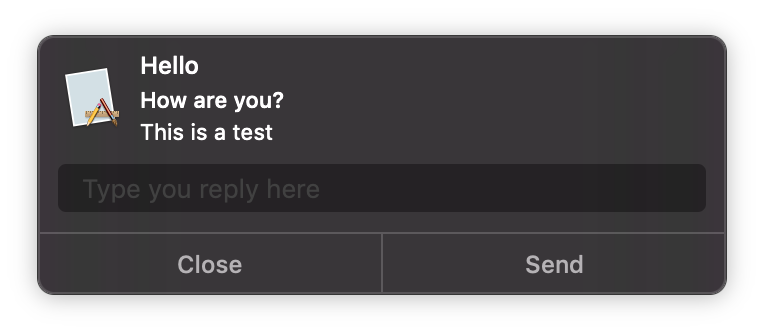
Handle response
After the user validated his response, the Notification Center will call userNotificationCenter:didActivate, we just need to check the activation type:
func userNotificationCenter(_ center: NSUserNotificationCenter, didActivate notification: NSUserNotification) {
    switch (notification.activationType) {
        case .replied:
            guard let res = notification.response else { return }
            print("User replied: \(res.string)")
        default:
            break;
    }
}Action
By default, on alert you’ll have default buttons, like displayed before. We can configure them, to match what you want.
notification.hasActionButton = true
notification.otherButtonTitle = "Marco"
notification.actionButtonTitle = "Polo"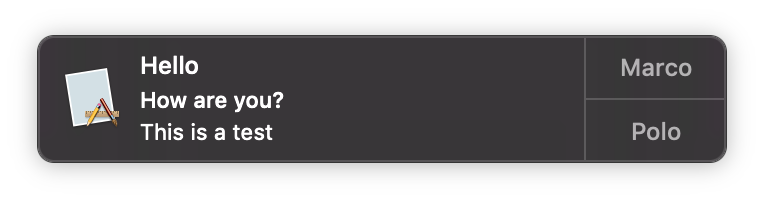
Additional actions
It’s sometimes useful to offer multiple actions to users, directly from the notification, as a non-breaking workflow.
Additional actions are an array of NSUserNotificationAction:
notification.additionalActions = [
    NSUserNotificationAction(identifier: "action1", title: "Action 1"),
    NSUserNotificationAction(identifier: "action2", title: "Action 2"),
    NSUserNotificationAction(identifier: "action3", title: "Action 3")
]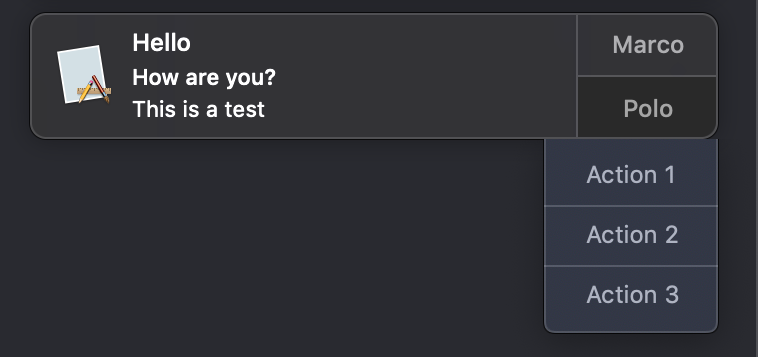
Currently, you need to hold-click the action button to display the additional actions and there is no little arrow on hover.
Handle actions
Go back to userNotificationCenter:didActivateNotification and add these switch cases:
case .additionalActionClicked:
    guard let choosen = notification.additionalActivationAction, let title = choosen.title else { return }
    print("Action: \(title)")
case .actionButtonClicked:
    print("Action button (Polo)")
case .contentsClicked:
    print("Contents clicked")
Scheduling
Finally, let’s say we want to schedule the display to be 10 seconds later and then to repeat it every day.
notification.deliveryDate = NSDate(timeIntervalSinceNow: 10)

let repeatInt = NSDateComponents()
repeatInt.day = 1
notification.deliveryRepeatInterval = repeatInt

notificationCenter.schedule(notification)
Notice, that instead of deliver, we used schedule function.
Last updated on 19th August 2019